Lesson 8
Lambda Functions, UI

Download the week 8 project
We have already created and used several functions in our scripts. A function is a block of code that can be called from somewhere else by name, such as hit(), and optionally take arguments for the function to use, such as add_points(1). So far, we have only defined named functions, but there's another type of function you can define inline (i.e., where you call it) called a lambda function.
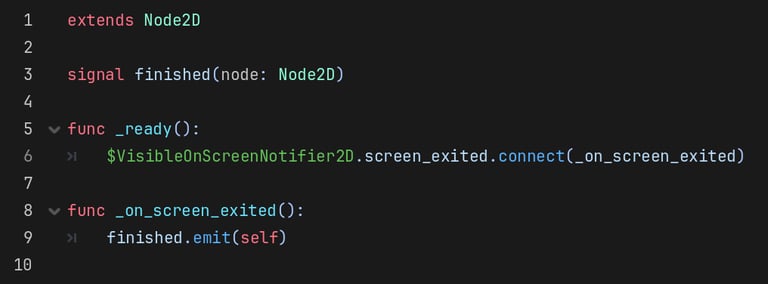
A lambda function is just like a normal named function in every way, except that it doesn't have a name. Instead, you define the function where you would otherwise call a function by name. Consider the example below, where we connect the screen_exited signal of a VisibleOnScreenNotifier's to a function that emits our own finished signal. We cannot connect screen_exited directly to the finished signal because finished requires an argument which we need to explicitly pass.
Lambda Functions
User Interface (UI)
We will never call _on_screen_exited directly by name; it will only ever by called by the VisibleOnScreenNotifier2D's signal. We can achieve the same result using a lambda function instead:
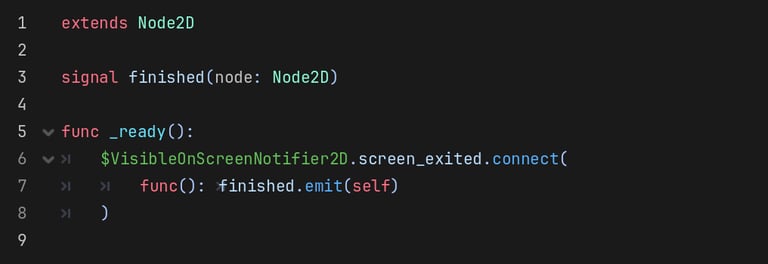
The lambda function is defined within the call to connect() and looks exactly like any other function definition, except that it does not have a name. Now, when the screen_exited signal is emitted, it will call this lambda function, which emits the finished signal.
Lambda functions are incredibly useful when you need a function that will only be used in one place and doesn't need to be called by name.
UI elements, called Controls in Godot, are very similar to other 2D nodes: they have a 2D transform (position, scale, rotation), they can have children that inherit the transform of their parents, etc. The major difference between Controls and Node2Ds is that Node2Ds are rendered in world space, whereas Controls are rendered in screen space. World space is the space that all of your game object exist in. When you move a sprite, you are changing its position in world space, and depending on the camera position and settings, it will get rendered in a different location or size on the screen. Screen space, on the other hand, is always relative to the viewport and does not have to go through any transformation to be mapped to some location on the screen. Another way to think of it is the point (0, 0) is ALWAYS in the top-left corner of the screen in screen space, but you can change where the point (0, 0) in world space appears on the screen by moving the camera around.
Another major difference between 2D nodes and Controls is that Controls have an anchor. The anchor defines where the Controls is positioned relative to its parent, and how its size changes as its parent resizes. For example, a Control that is anchored to the top-right corner of the window will always appear in the top-right corner, even if the window is resized. This can be very useful for keeping your UI elements in the right position, and the right size, at different viewport resolutions.
There are a lot of different types of Controls available in Godot. Below are some of the more common ones you will use.
Label: A control for displaying plain text.
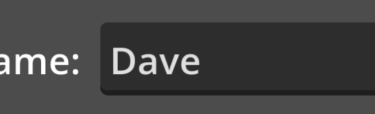
LineEdit: An input field for single-line text.
Button: A clickable button that can contain text and an icon.
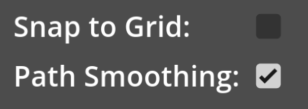
CheckBox: A button that presents a binary choice (on/off).
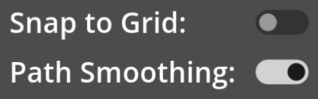
CheckButton: A button that represents a binary choice (on/off).
TextureRect: A control that displays a texture.
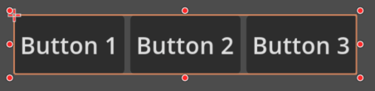
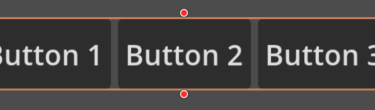
HBoxContainer: A container that has no graphical representation, but arranges its child controls horizontally.


As with any other type of node, UI Controls can have scripts, and they can be the root node of a scene. There will be times where you may want to create smaller UI scenes with their own scripted behavior, such as a health meter, or a hot bar, and then add those scenes to a larger UI scene that combines all of the different UI elements together.
Let's consider the creating a heath meter, like the one shown below:


For this scene, I have created an HBoxContainer with 3 TextureRects, and the root node has a script that defines which textures to use for the full heart and empty heart.
I could have just added the TextureRects to the main UI and controled them through the main UI script, but by creating a separate scene with its own script specifically for controlling how many hearts are displays, which ones are filled and which ones are empty, and maybe even animating them (ex, make them shake when taking damage), it's a lot cleaner. Plus, I could create multiple instances of this scene, maybe one for the player and one for a boss.
Homework
Create the UI
Create the default UI Theme.
In the FileSystem tab, right-click and Create New/Resource.
Search for the resource type Theme and click Create.
Save your new resource as ui_theme.tres.
Double-click ui_theme.tres in the FileSystem tab to edit it.
In the Inspector, select the Default Font (one is provided in the game folder, or you can provide your own).
In the Inspector, set the Default Font Size to 20.
Open the Project Settings. On the GUI/Theme tab, set your ui_theme.tres as the Custom theme for your project.
Save & Restart the editor for the settings to take effect.
Update Globals script.
Add new variables playerScore and playerDistance to Globals.gd
Update Player script.
Get rid of local score variable.
Update add_points() function to update the Globals.playerScore instead.
Add a new const variable PixelsPerMeter, give it a value such as 50.
In the _physics_process() function, update the Globals.playerDistance variable to track how far the player has run.
Create a new scene with a Control root, name it UI.
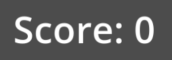
Add a Label child node, name it Score.
Position the Score label somewhere along the top of the screen.
Set the initial text to "Score: 0"
Add a Label child node, name it Distance.
Position the Distance label somewhere along the top of the screen.
Set the initial text to "Distance: 0m"
Add a script to the UI root node.
In the _process() function, update the text of the Score and Distance labels.
(OPTIONAL) Add UI for Player Health
Create a new scene with a Control root named health_ui.
Add an HBoxContainer child node.
Add 3 TextureRect children nodes named Heart1, Heart2, and Heart3.
Set the Texture for each TextureRect to your default empty heart image.
Set the Expand Mode of each TextureRect to Ignore Size.
Set the Stretch Mode of each TextureRect to Keep Aspect.
Add a script to the health_ui root node.
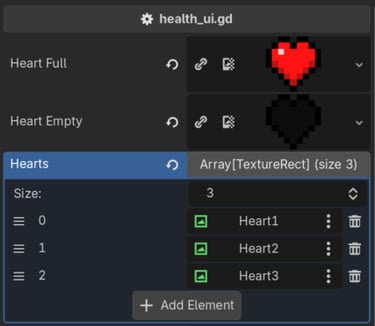
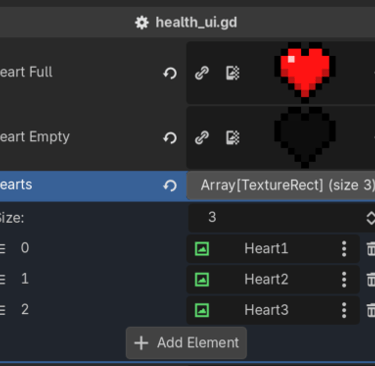
Add export vars for the full hear and empty heart textures.
Add export var for an Array of TextureRects for the heart UI elements.
In the Inspector, drag all three of your Heart TextureRects into the array.
Add a local variable for maxHealth.
In the _ready() function, set maxHealth = hearts.size().
Add a set_health(health) function.
Add a while loop, iterating through each heart. Increment an index within the loop. If the current index is less than the health value passed in, assign the full heart texture to the TextureRect, otherwise assign the empty heart texture.
Update Globals script.
Add a playerHealth variable.
Update Player script.
Update the hit() function to reduce the Globals.playerHealth by 1, and call die() when it reaches 0.
Update the main UI.
Add the hearts_ui scene as a child to the main UI scene, position it where you like.
In the main UI script's _process() function, call set_health(Globals.playerHealth).
[BONUS] How would you modify this scene and script to make the max health configurable at runtime? That is, by changing the max health at runtime, it adds or removes more heart images?